How to Create a Filter in Jira
Knowing how to create a filter in Jira is a vital task for any user. Filters make managing your work a lot easier and they help you stay up to date and informed on important issues.
Creating a filter in Jira is a relatively simple task, although the more complex part comes down to the JQL query that you use. Any user in Jira can create filters, and there are various things you can do with filters.
In this guide, we’ll cover how to create a filter in Jira as well as share a few best practices for filters.
What Is A Filter In Jira?
A filter is a saved set of criteria for searching for an issue. When you search for an issue in Jira, you need to input different criteria for your search. This could be a basic or advanced search.
It’s possible to save these search criteria as a filter, to make it easier to access that same search again.
The filter can be shared with other users, groups, or projects in Jira, or it can be private.
When you create a filter, you become the owner of that filter. Only filter owners and admins in Jira can access and modify private filters.
Anyone in Jira can create and configure their own filters.
How To Create A Filter In Jira
Knowing how to create a filter in Jira is an important task for all users.
To create a filter, simply follow these steps:
1 - Navigate to Issues.
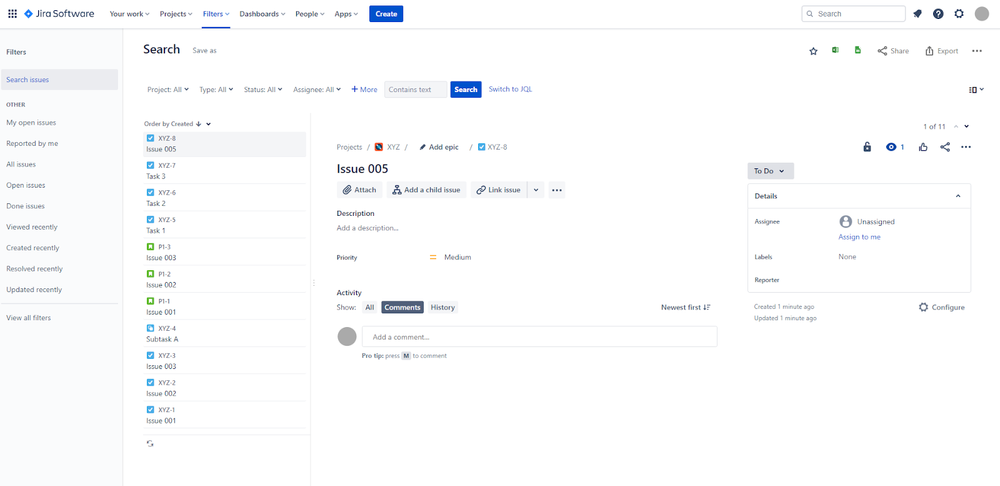
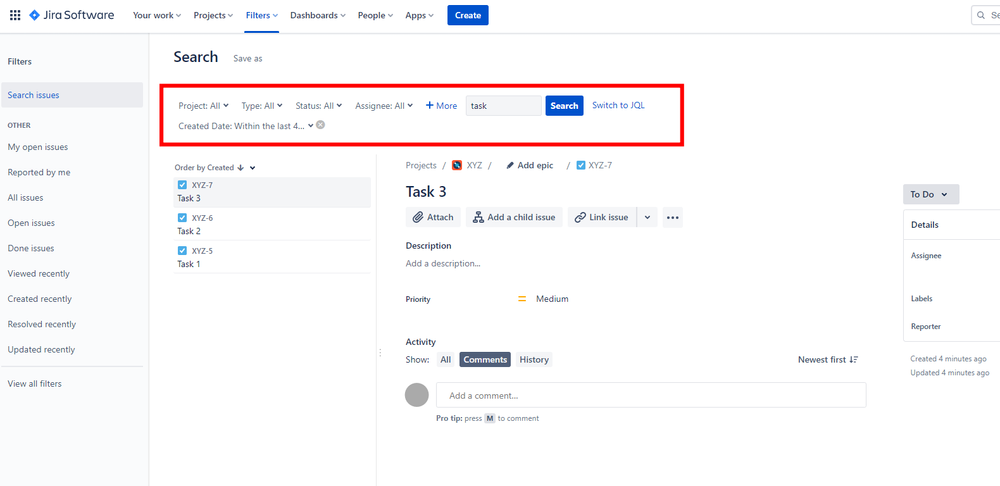
2 - Go to Search for Issues and input your search. You can also filter by the Project, Type, Status, and Assignee. Ensure that you actually execute the search to know that the search query is correct.
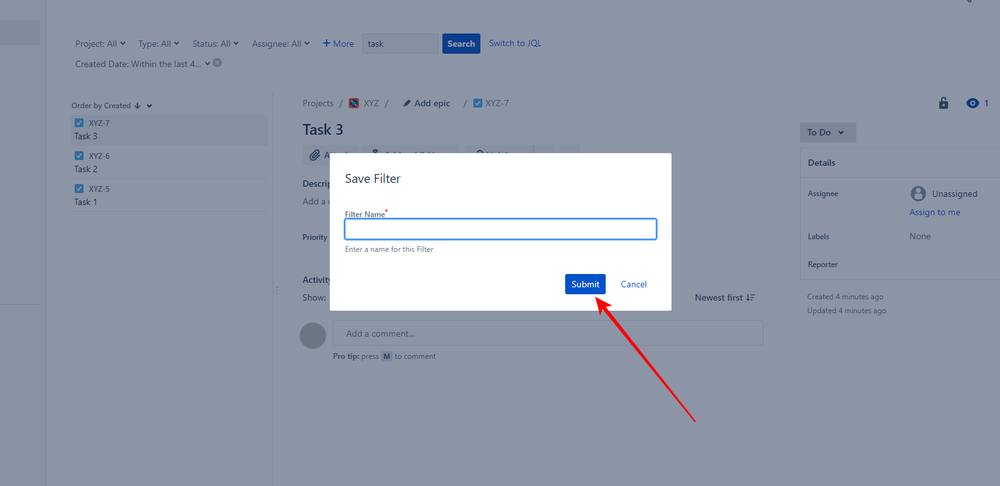
3 - Select Save As.
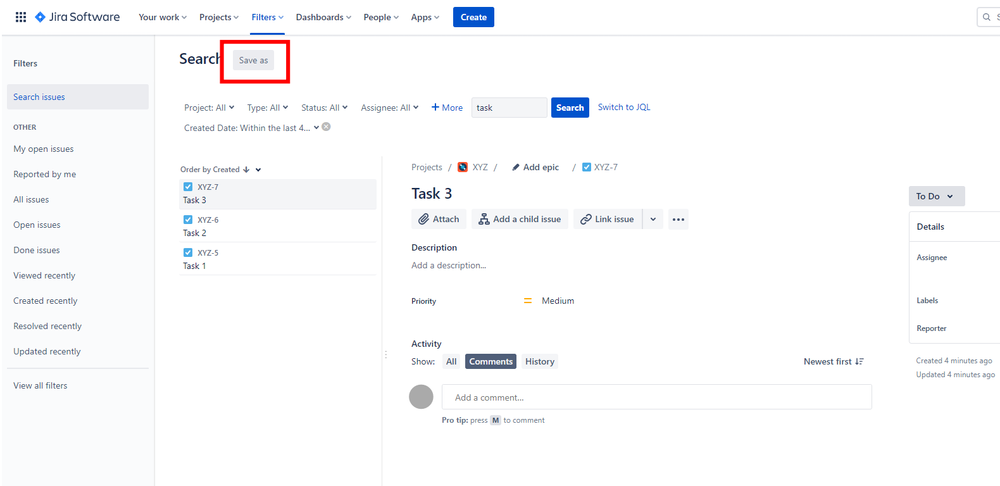
4 - Type in a name for your filter. 5 - Click Submit.
Managing Your Filters in Jira
Now that you know how to create a filter in Jira, you will need to know how to control that filter. Here are two important functions to know.
Viewers and Editors
When you create a filter in Jira it is set to private by default. You can change this and share it with other users. You can set viewers and editors of filters to:
- Projects
- Specific project roles
- Public (any user)
- Groups
- Any specific logged-in user
View permission allows users to see and use the filter in a dashboard, and access the query results of the filter. If the filter is kept private, then users won’t be able to access any of this.
Edit permission allows users to also edit the filter details and change their query. Users with edit permission can also control who has View and Edit access on the filter.
If you share a filter with a project board, then all users who have access to that board will be able to access the filter.
Subscriptions
Jira sends out emails to users about any updates on filters. This is managed through issue filter email subscriptions, where you can control how these emails are sent out and who receives them.
You can set a query and determine a run time interval. Jira will then send out email updates that include snippets of search results for the query at each interval. Subscription emails share the first 200 results. The owner of the filter and any users who can access the filter can add subscriptions.
To add subscriptions to a Jira filter:
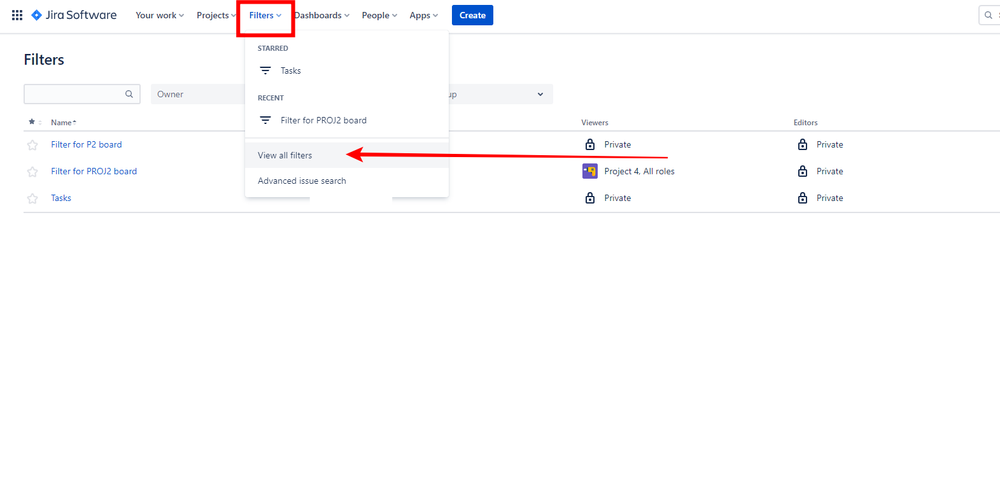
1 - Go to the Filters tab and click View all filters.
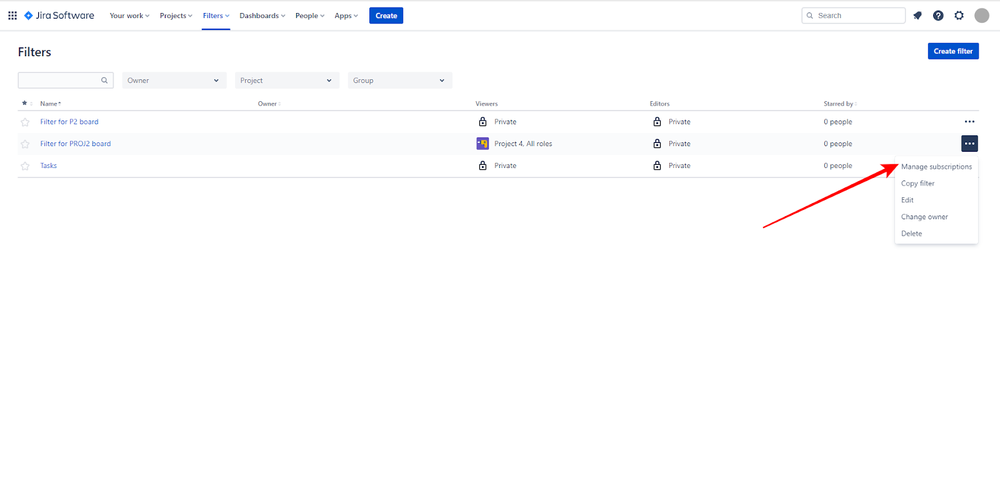
2 - Navigate to the menu button on the filter you want to add a subscription to and click on it.
3 - Select Manage subscriptions.
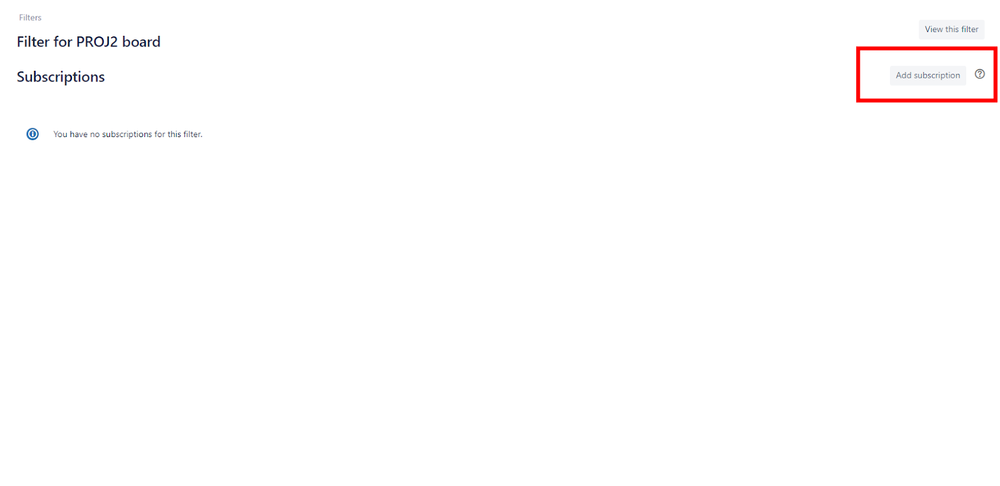
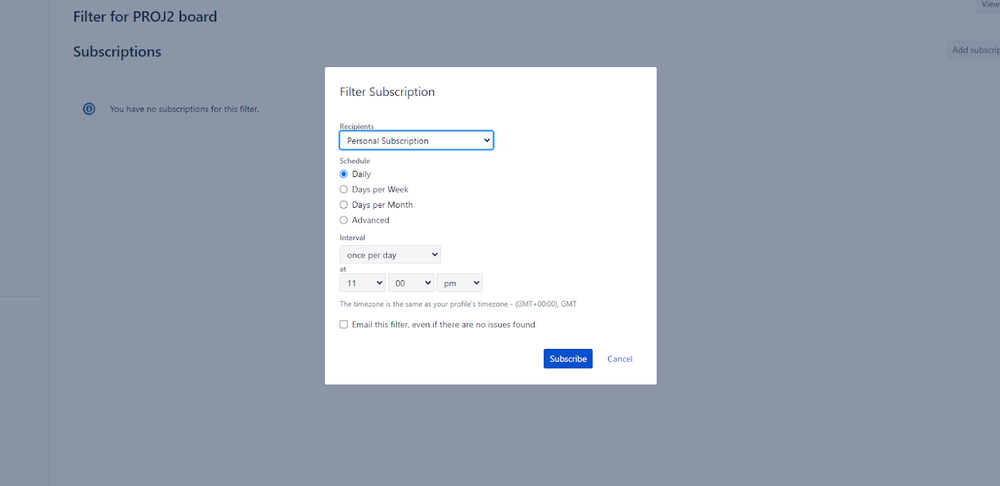
4 - Now you can access and control the filter subscription. To add a subscription, click on Add subscription.
5 - Select the Recipients, Schedule, and Interval, and then click Subscribe.
Using subscriptions is a great way to stay up to date with the results of each filter and be informed about any issues. If there is a particularly important issue, then you can use subscriptions to always stay on top of it.
Tips For Using Issue Filters
Knowing how to create a filter in Jira is a pretty simple process, but there are a few ways that you can improve the way you use filters.
Create Lists For Your Favorite Filters
You can favorite your filters and create lists out of them. To do this, click on the star icon next to the filter name.
Configure Ownership
The default owner of the filter is the person who created the filter. Each filter always only has one owner, but if the filter is shared the ownership can be changed. This can be done by the owner or Jira administrator.
To change ownership of a filter:
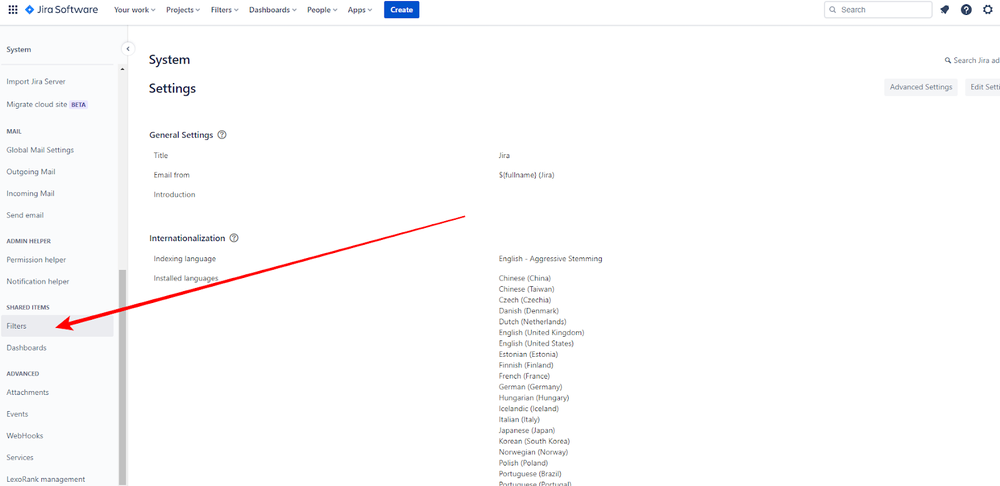
1 - Go to the settings cog in the top right corner of Jira and select System.

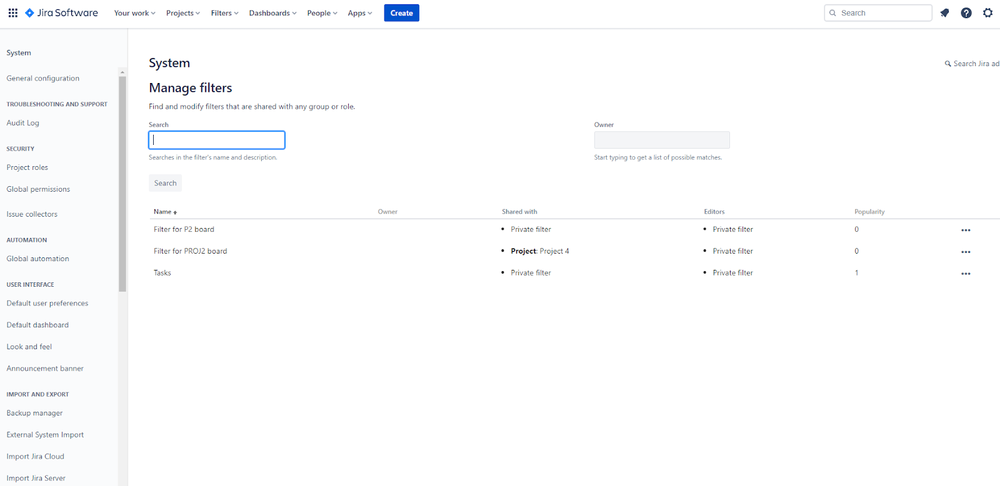
2 - Select Shared Filters.
3 - Now you can change ownership of each filter using the cog icon next to each filter.
Understand Filter Changes
If you change a filter, you will change the search results for any element that uses the same filter. It’s important to understand subscriptions and shared users of the filter before you make any changes to it.
Define a Naming Convention
An important part of managing filters efficiently is having a standardized naming convention for all filters.
Filters can be created and shared by all users, so it’s very possible for many different filters with various naming conventions to appear. This also means duplicate filter names are going to be a common issue.
Defining a consistent naming convention in advance will avoid this.
Be Careful With Your JQL Queries
When creating filters, try to use queries that require minimal updating. The ways that you create these searches should also be consistent, which makes managing and understanding filters a lot easier.
There are various ways that you can filter results in Jira. Start by basing filters on projects. Create a broad query first, then narrow down the search query for more specific information.
Conclusion
Knowing how to create a filter in Jira will make your life a lot easier. Filters can save lots of time, and they make navigating and understanding issues a far more simplified process. It’s important that you stay consistent with the way that you create and manage filters. Get this right, and it will transform the way you work in Jira.
Improve your team with fun sprint retrospectives
Create unlimited boards for free and make retrospectives fun again