How To Use Microsoft Teams Breakout Rooms
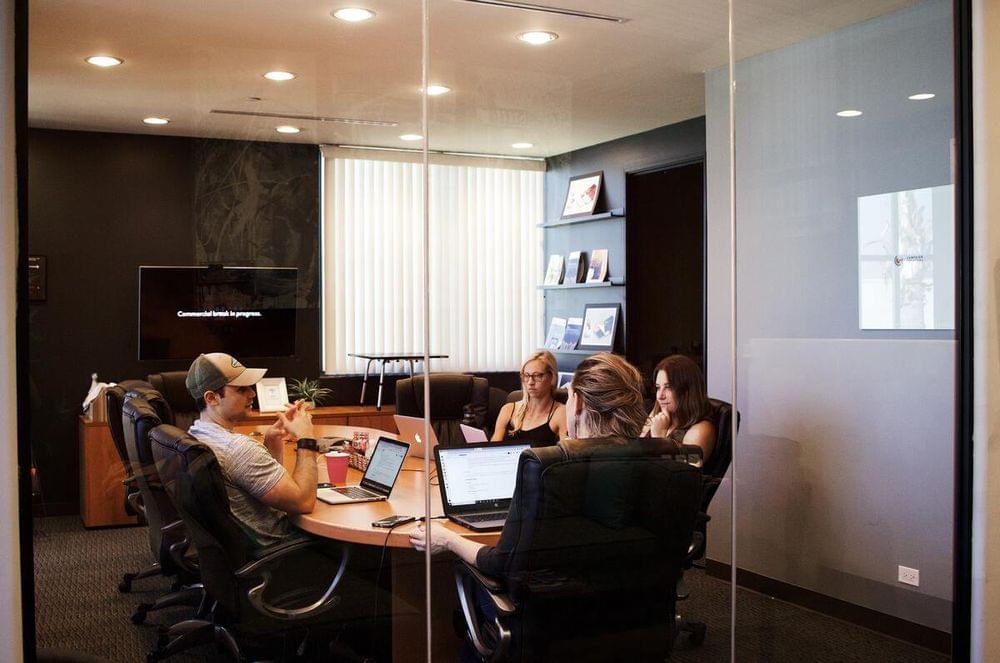
Microsoft Teams comes with many different features to enhance meetings and communications. One of these is Breakout Rooms.
Breakout Rooms are a great way to break a big meeting into specific smaller meetings. This can be used to encourage lively conversations and get more participants to engage and collaborate on a specific topic. It’s also great for educators hosting classes online as they can break students up into small groups for project work.
If you’re hosting a meeting on Teams, it’s important to know how to set up Breakout Rooms and how you can use them. We’ll cover everything you need to know about Breakout Rooms in this easy step-by-step guide.
Table of contents
- What Are Microsoft Teams Breakout Rooms?
- How To Create A Breakout Room Before Your Meeting
- How To Create A Breakout Room During Your Meeting
- How To Appoint Breakout Room Managers
- How To A Set Time Limit for Breakout Rooms
- What Else Can You Do With Breakout Rooms?
- Conclusion
What Are Microsoft Teams Breakout Rooms?
Breakout Rooms is a feature in Microsoft Teams that lets you streamline and organize meetings more efficiently.
Meeting organizers can use Breakout Rooms to split attendees into various online rooms. Each room can be used for a certain discussion, topic, or collaboration effort. This makes things like brainstorming and engaging in conversations in large meetings a lot easier.
If you have a large organization or host a large meeting, then Breakout Rooms let you divide up your participants in ways that suit the meeting and what is being covered in it. You can create Breakout Rooms based on things like departments or projects.
It’s possible to create 50 Breakout Rooms at a time. When you create these separate rooms, you will need to assign certain users to each one.
Breakout Rooms can only be created by the organizer of a Teams meeting.
How To Create A Breakout Room Before Your Meeting
Follow these steps if you want to create Breakout Rooms before you start a meeting:
- Go to your calendar in Microsoft Teams and open the meeting invite.
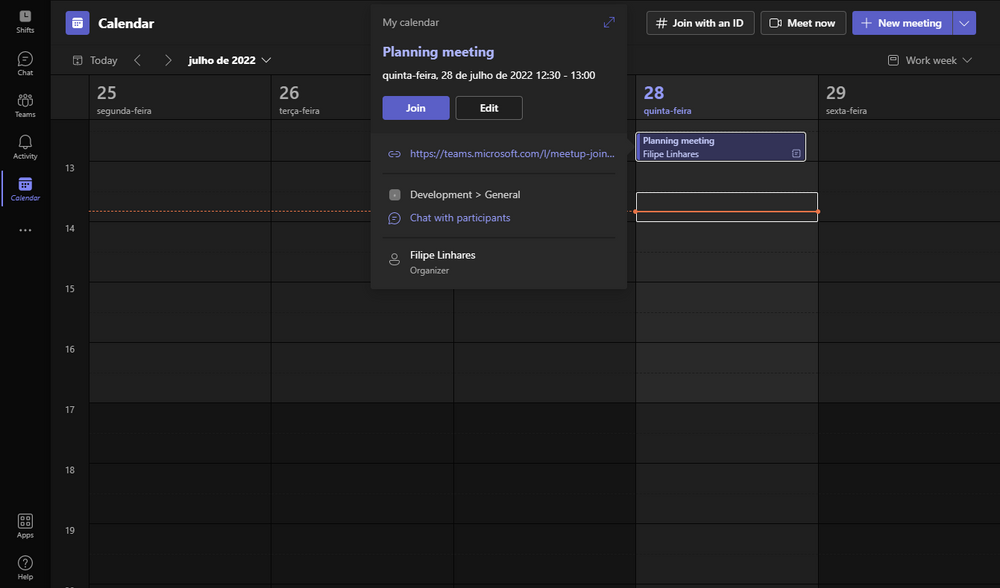
- Go to Breakout rooms and then select Create rooms.
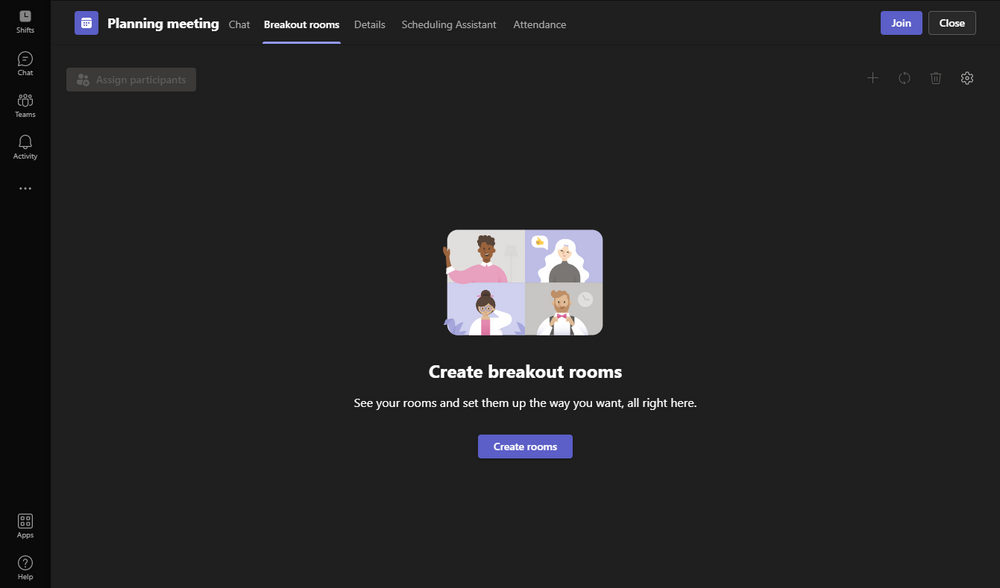
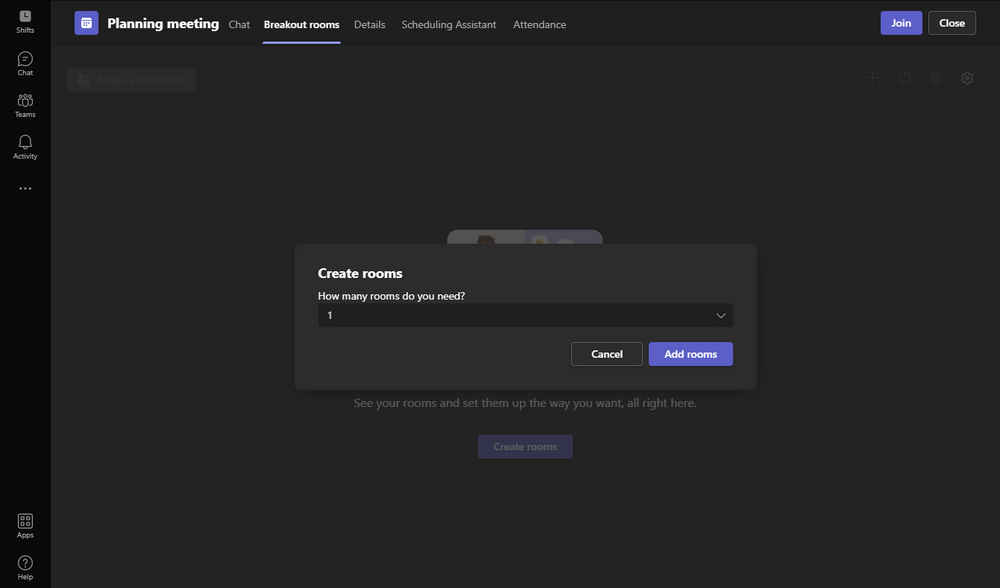
- Now you can choose how many rooms you want to create (maximum 50). When you have chosen this, select Add rooms.
- Now your Breakout Rooms have been created. However, nobody is part of these rooms yet. To add people, you will need to select Assign participants.
- Now you have two choices. You can either get Microsoft Teams to assign people to rooms in even numbers. To do this, select Automatically. Or, you can choose Manually and assign people yourself.
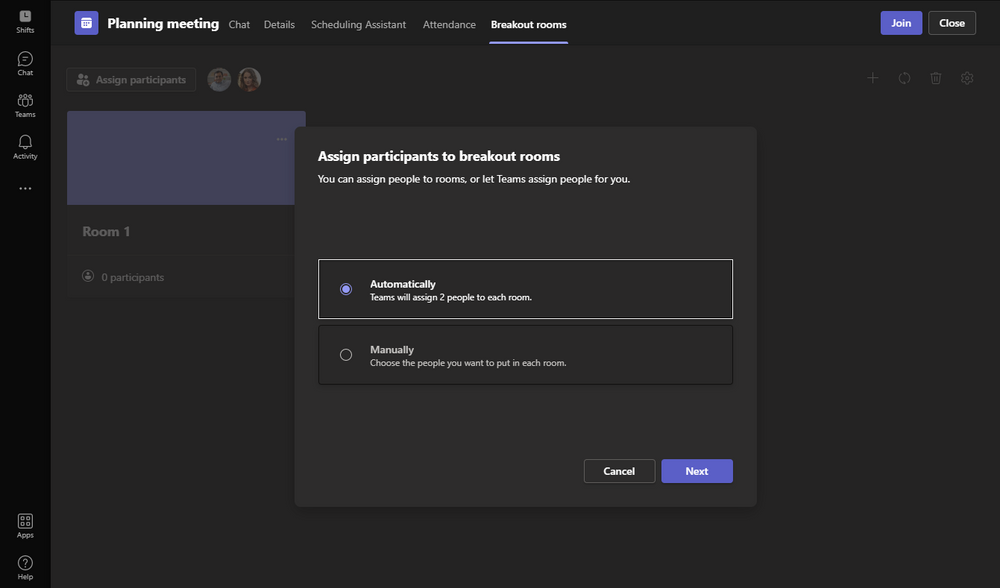
- The Breakout Rooms are ready. You can simply open the rooms when the meeting starts
How To Create A Breakout Room During Your Meeting
Sometimes, you will need to create Breakout Rooms while a meeting is in progress. This is how you do it:
- Start a meeting as usual
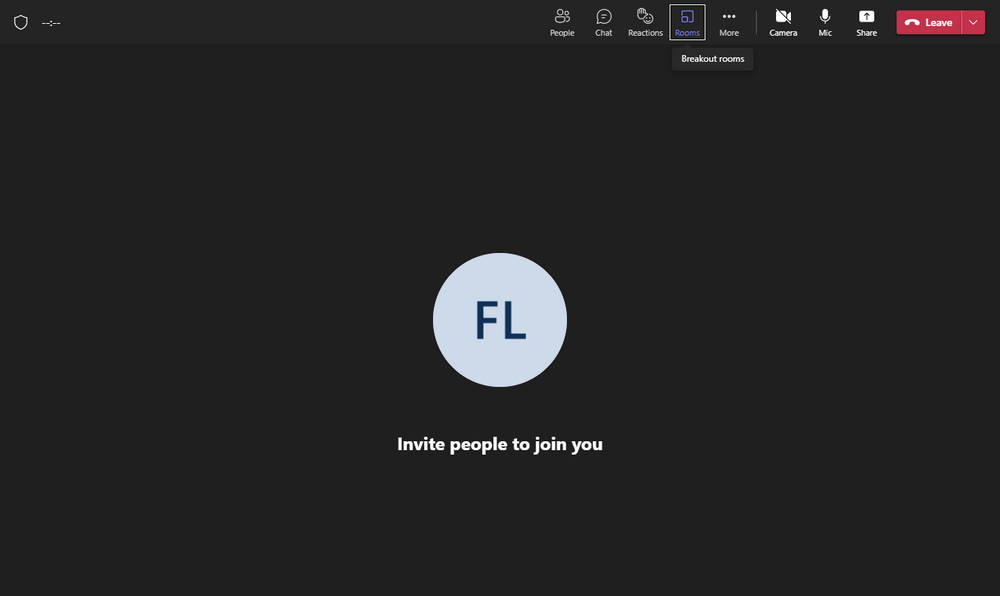
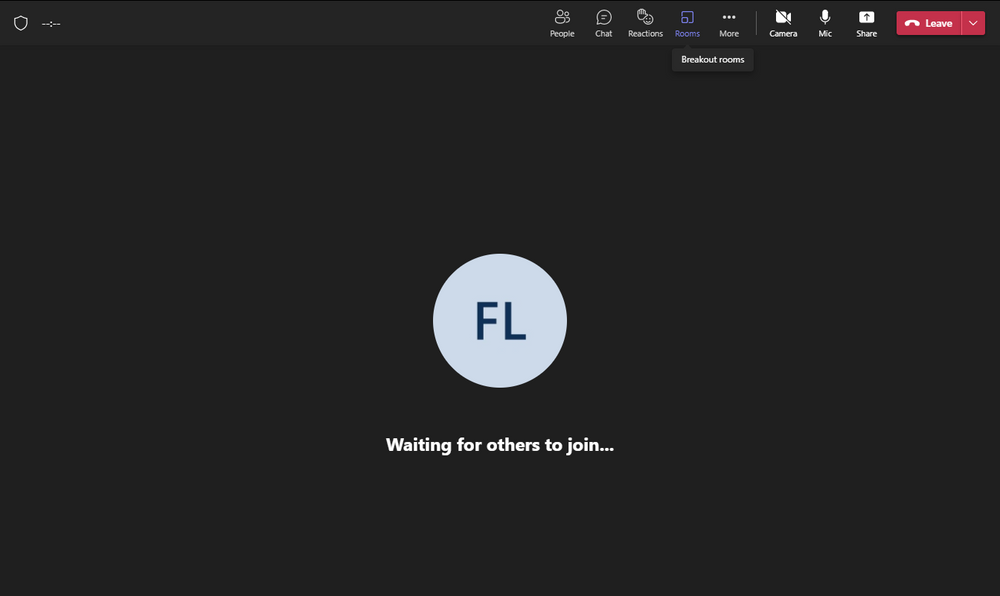
- Go to the meeting controls panel and select Breakout rooms
- Now you will need to choose between a few options when you create the rooms. To do this, you will need to select: - How many rooms you want to create (maximum 50) - If you want to assign people to the rooms yourself (Manually) or if you want Teams to evenly distribute participants to rooms (Automatically)
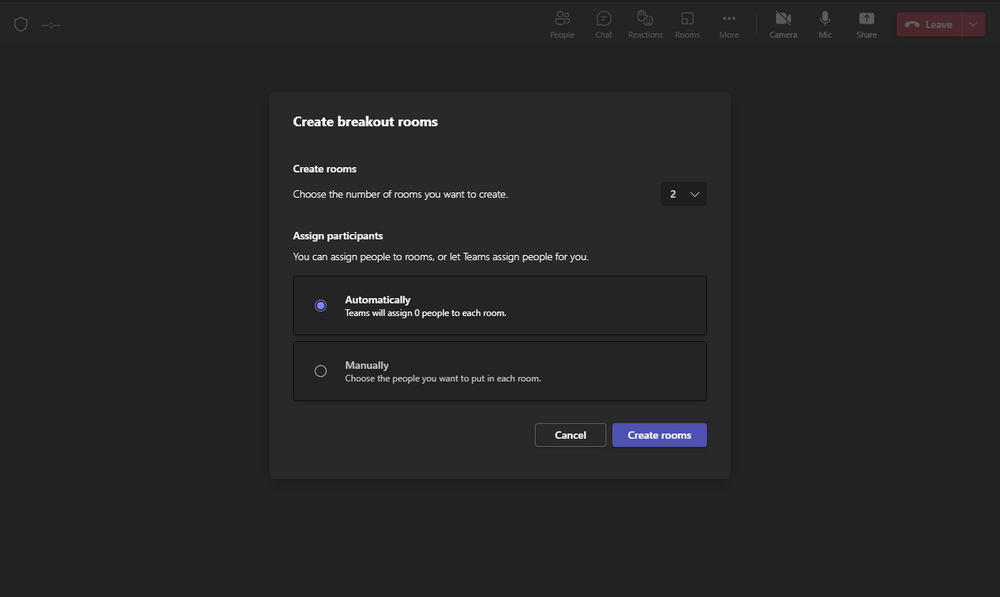
- Select Create rooms
- Now your Breakout Rooms are ready
How To Appoint Breakout Room Managers
As a meeting organizer, it is your job to create and assign the breakout Rooms. However, you can assign participants to manage the Breakout Rooms.
Breakout Room managers will be able to do things like:
- Add more rooms or delete rooms
- Open and close rooms
- Assign participants to certain rooms
- Send announcements in the meeting
- Create time limits for sessions on rooms
- Recreate rooms
Room managers also have the ability to join any room in the meeting. Just remember that only one person can manage a meeting’s Breakout Rooms at any given time.
To appoint Breakout Room managers, follow these steps:
Before the Meeting
- Go to your calendar in Microsoft Teams and open the meeting invite
- Choose Breakout rooms and select Room settings
- Turn on the toggle for Assign presenters to manage rooms
- Select Search for presenters
- Now you can choose your room managers
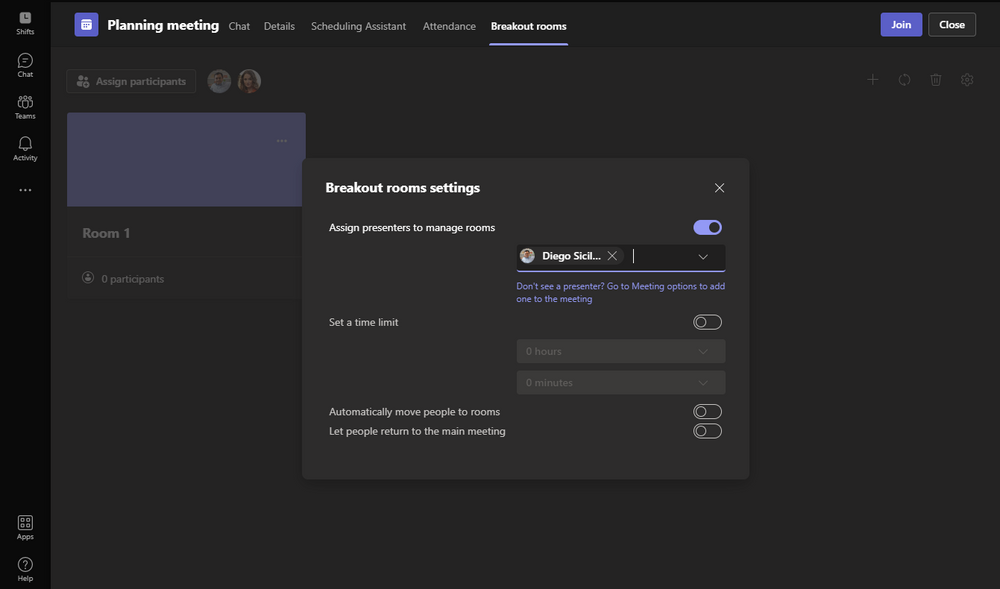
During the Meeting
- Go to the meeting controls and select Breakout rooms
- Click on Room settings
- Turn on the toggle for Assign presenters to manage rooms
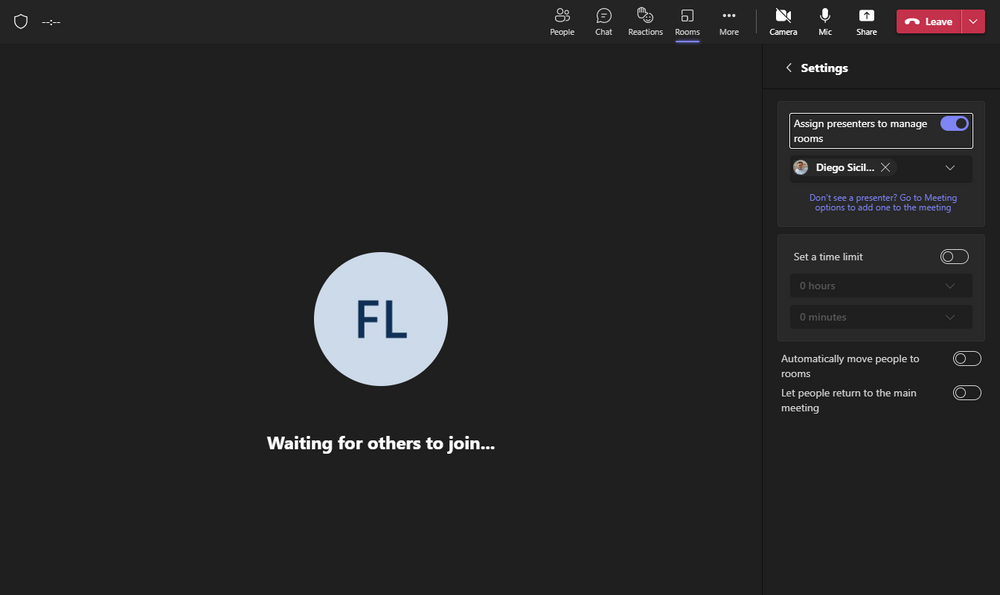
- If there are already designated presenters in the meeting, then they will be assigned as room managers. If there are no presenters yet, select Go to Meeting options to add presenters and select your room manager. There will be a dropdown menu where you can choose people from
- Once you have chosen the room manager, select the back (<) button. This will save our changes
How To A Set Time Limit for Breakout Rooms
You can set time limits for each Breakout room session. When you do this, a timer will appear in the room, displaying how much time is left in the session. Once the timer has finished, the room will close and all participants will return to the main meeting.
Follow these steps to set a timer:
- Go to the meeting controls and select Breakout rooms
- Select Room settings
- Choose Set a time limit and add in your timer length
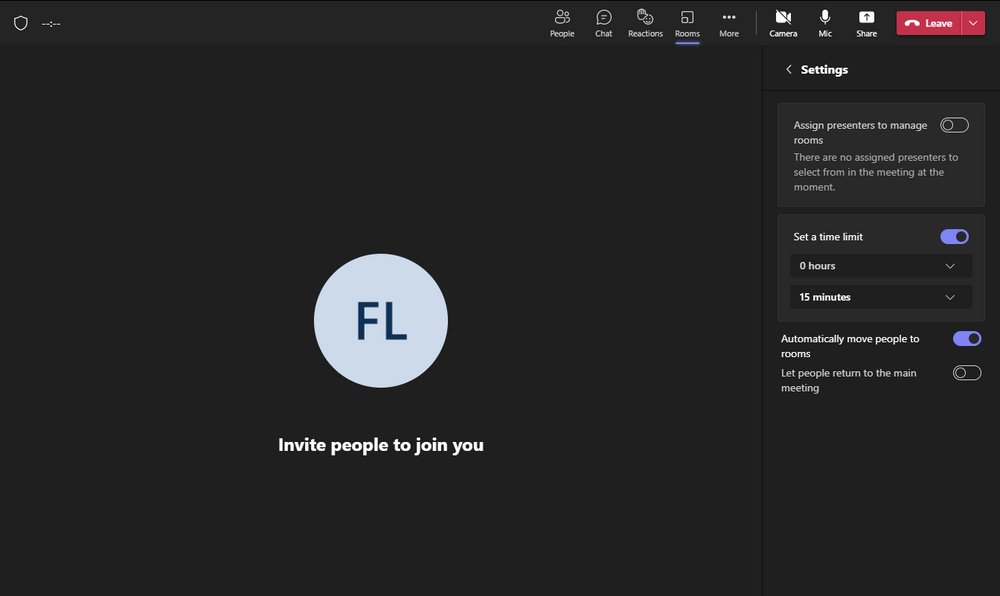
- Select the back button (<) and your timer changes will be saved
What Else Can You Do With Breakout Rooms?
Breakout Rooms can be used in various ways. As a meeting organizer, you can do the following with Breakout Rooms:
- Broadcast an announcement to all Breakout Rooms
- Join chats. Each Breakout Room has its own dedicated chat
- Close Breakout Rooms individually or at the same time. Doing this will return participants back to the main meeting
- Move participants to different Breakout Rooms
- Delete and recreate Breakout Rooms during meetings
- Rename Breakout Rooms
Conclusion
beneficial. It’s more engaging for participants and it can help you figure out specific answers and projects faster.
If regular video calls are not helping you communicate effectively, then consider creating Breakout Rooms in your next meeting. It’s a fun and effective way to improve the way you manage conversations.
Improve your team with fun sprint retrospectives
Create unlimited boards for free and make retrospectives fun again